
Documentation Index

Fetch the complete documentation index at: https://pluvo-02a06e95.mintlify.app/llms.txt

Use this file to discover all available pages before exploring further.

When you first access Pluvo, you will be greeted by an organization with no data in it. No worries! We need to sync your financial data to Pluvo before your User Interface is populated with information.
Let’s do that now.

Step 1: Navigate to the Organization Dropdown tool in the top left.
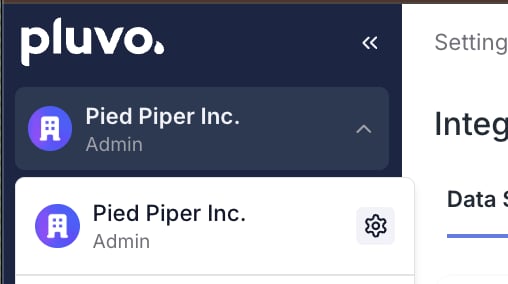
If you belong to more than one organization - as is usually the case with Fractional CFOs - you will be able to quickly navigate between each organization and their respective financial data using this dropdown.
Step 2: Click on the gear icon and navigate to ‘Integrations’ Step 3: Select your desired accounting software.
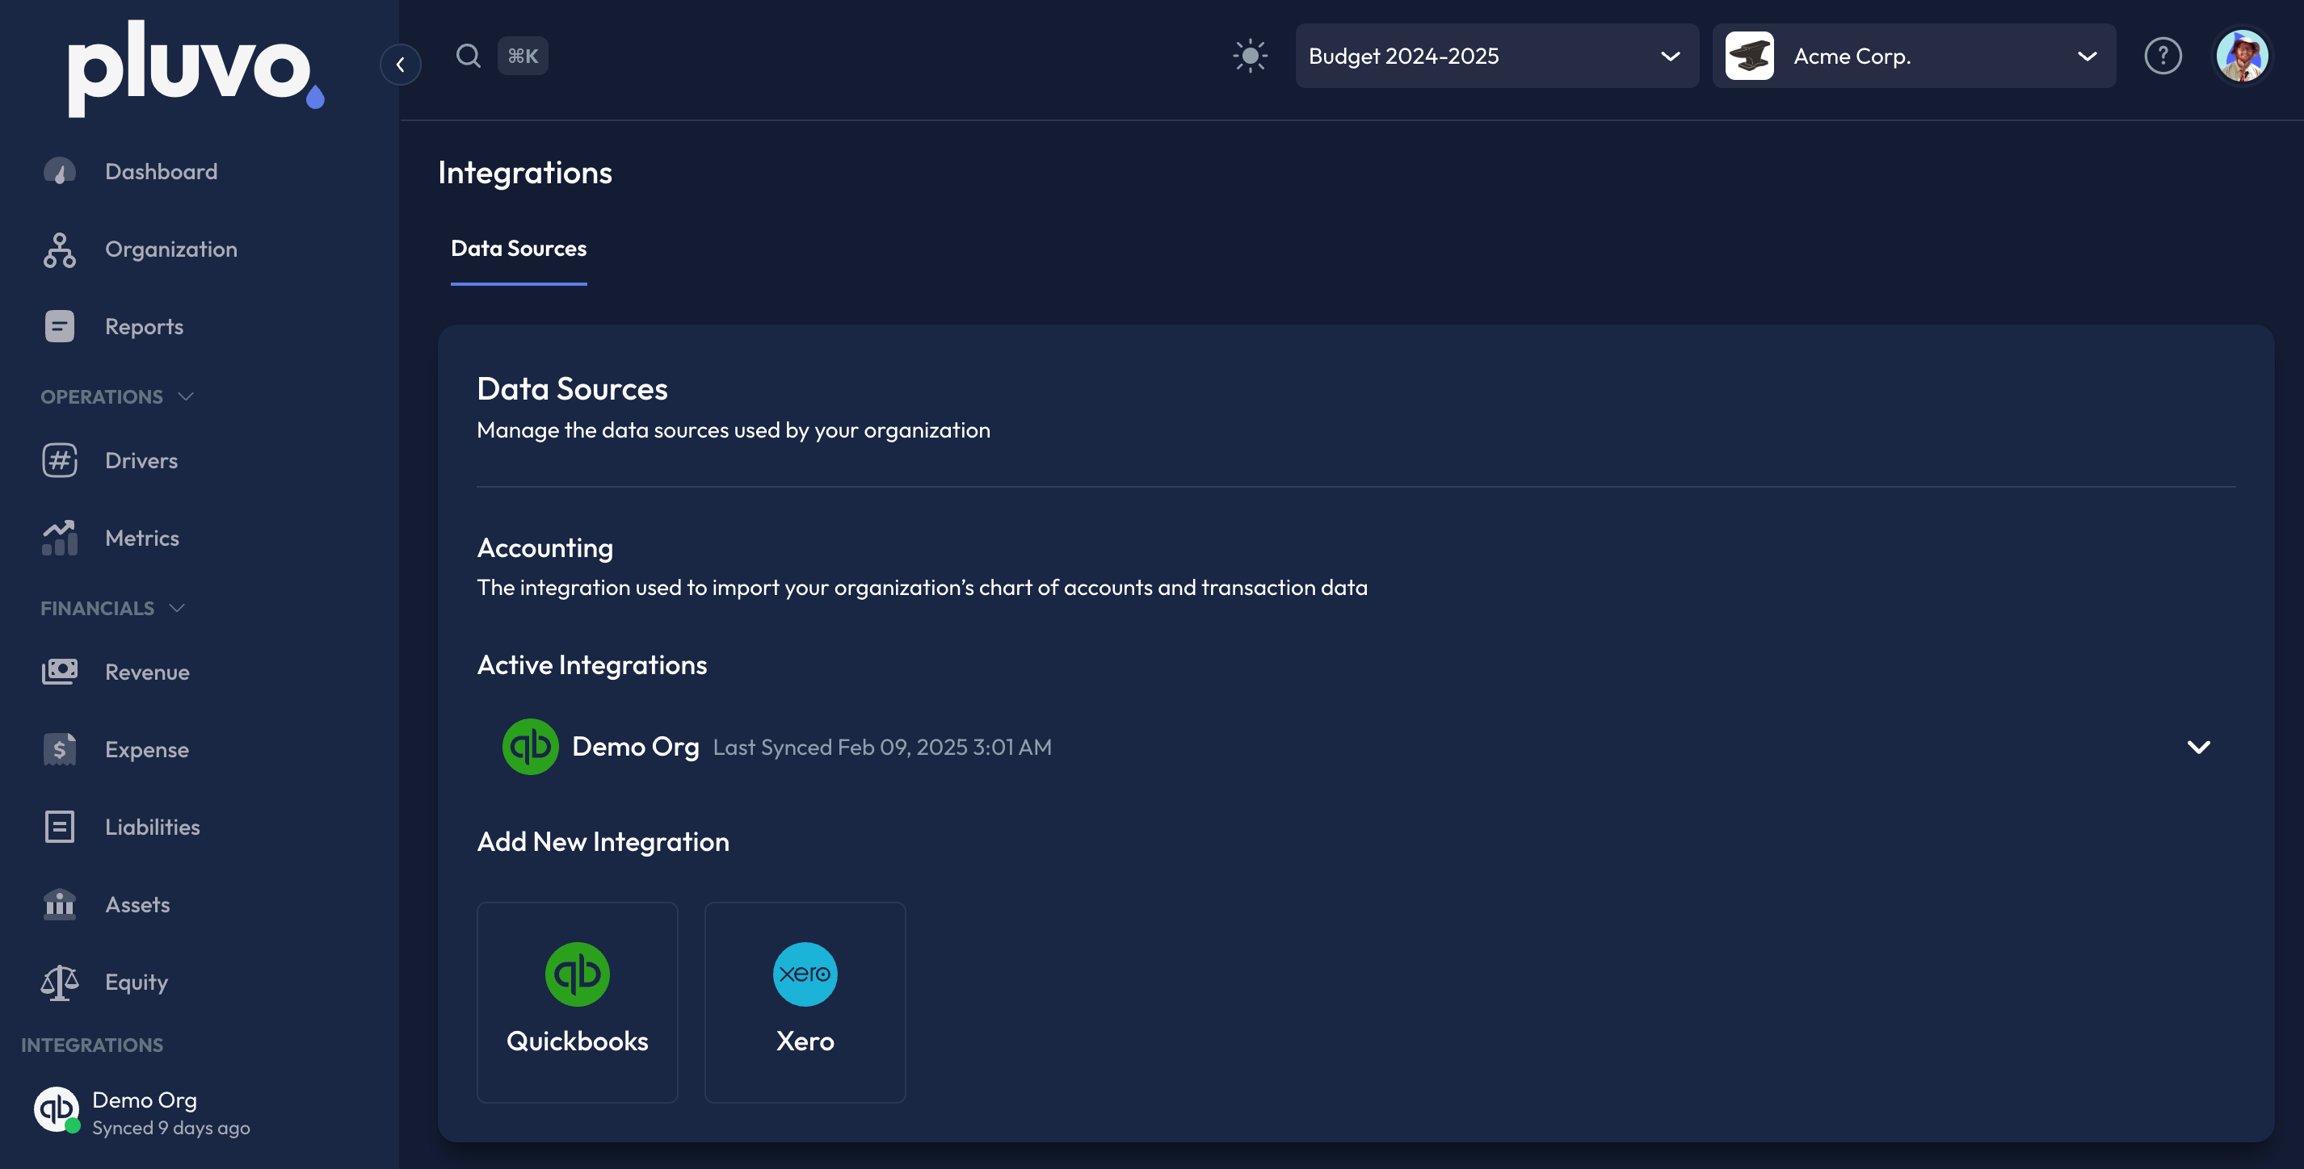
In order to sync your data, you must be logged into your accounting software of choice within the same browser that you have Pluvo open with. Once that is completed, your company will appear in the dropdown.
Step 4: Search for, and select, your company by typing in the company search box. Step 5: Click ‘Next’. Step 6: Click ‘Connect’. Step 7: Select a date range of data you would like to import into Pluvo, and then click save.
Step 8: Click sync now.
You’ve successfully synced your financial data with Pluvo!
To access your financial data, create a variable in any model and add a definition. Your GL accounts will now appear in the list of available variables (type ”#” in any formula box to access the variable list).