

What it does
Data is where you connect the systems your numbers already live in. Once a source is connected, Pluvo syncs the underlying tables, keeps them up to date, and makes them available to everything else in the platform, from your Library to the Assistant. You can connect three kinds of sources: cloud data warehouses, accounting and finance apps, and flat files you upload yourself. Mix and match as many as you need, all in one place.What you can connect
From Data, choose to add a data source and pick from the categories below. Use the search box, or the category filters above the list, to find a connector quickly.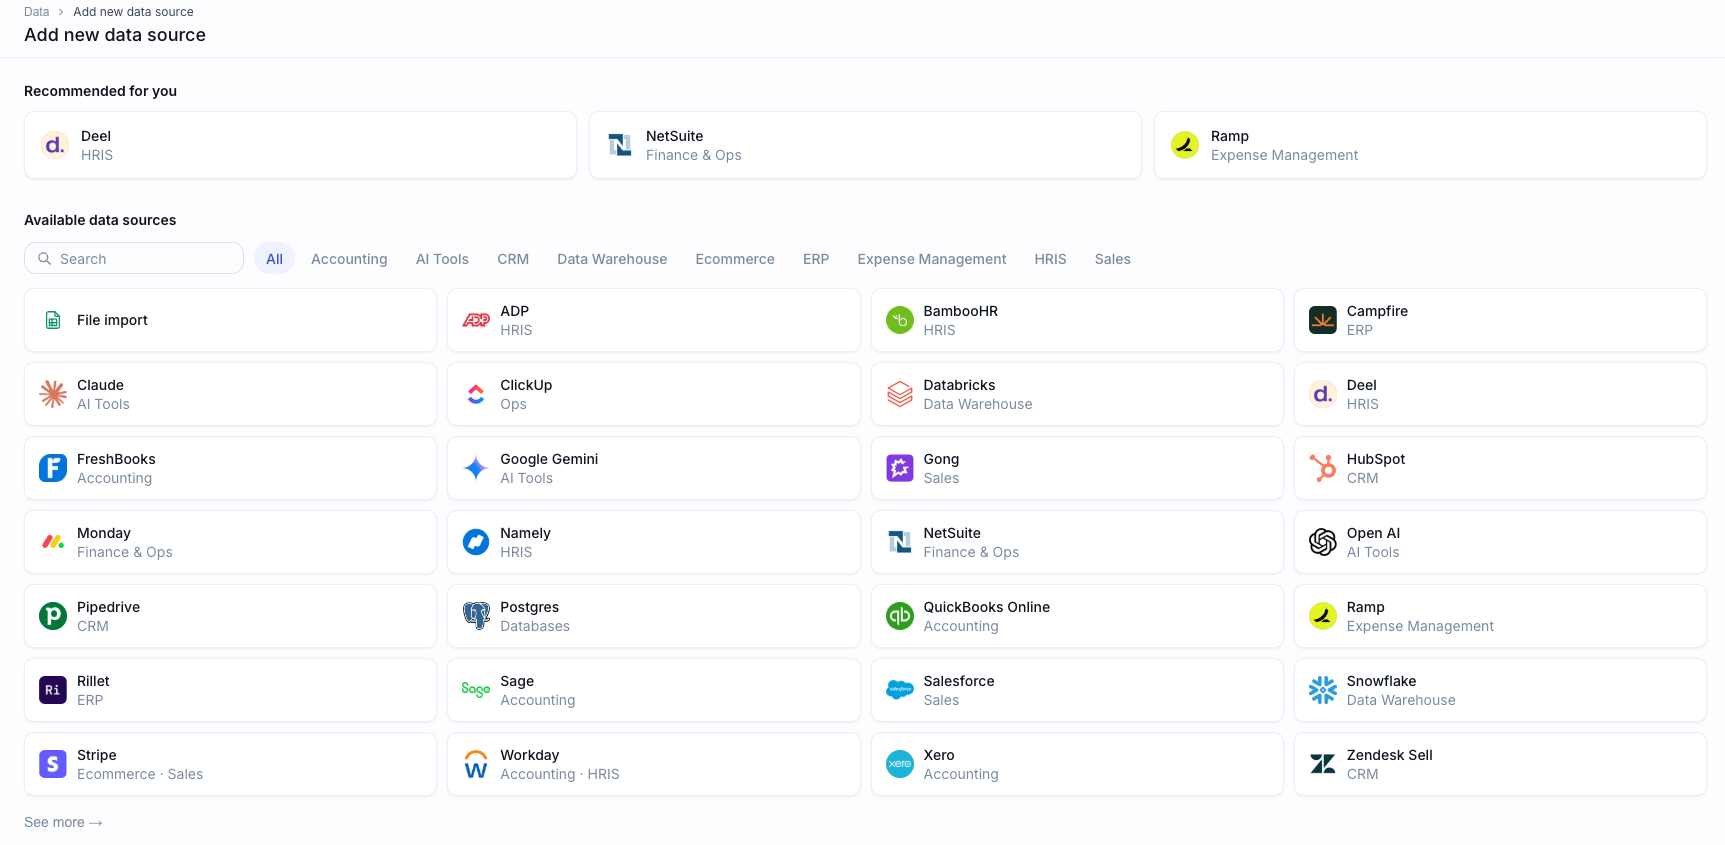
Adding a new data source in Pluvo
Some systems appear under more than one category, for example NetSuite, QuickBooks, HubSpot, Xero, and Salesforce. A direct connector links to that app’s native API, while a merge connector standardizes its data alongside your other systems. Pick whichever fits how you want the data structured.
Not every connector is switched on for every organization. If you expect to see one and it is not there, contact your account team.
Uploading files
File Upload takes CSV files and Excel workbooks, in.csv, .xlsx, and .xls formats, and you can bring in several at once.
Each sheet in a workbook becomes its own table in Pluvo, and you name each one as you finish setting it up. Once connected, the source keeps a record of the workbook it came from and which sheet became which table, so you can always trace a table back to its origin. Open the connection and choose Download original file to get back exactly what was uploaded.
A very large sheet can be too big to import from Excel. If that happens, Pluvo names the sheet and asks you to export it as a CSV and upload that instead.
Adding written context with Freeform Text
Not everything useful lives in a table. Freeform Text lets you bring in written material, such as policies, organizational context, or commentary on a period. Pluvo reads the document and pulls out the individual facts it contains, then you review and approve those facts before they inform any answers. Only the facts you approve are used, so nothing goes into your results without a person confirming it first.How to connect a source
1
Choose a source
Open Data, choose to add a data source, and pick the system you want to connect. Search or filter by category to find it quickly.
2
Authenticate or enter credentials
For apps like Xero, QuickBooks, HubSpot, and Gusto, you sign in through that service and authorize Pluvo. Some, like Rillet and Tabs, ask for an API key instead, and a direct NetSuite connection uses your account ID and token-based credentials. For warehouses, you enter your connection details, such as host, database, and credentials. For files, you select the CSV or workbook to upload. Pluvo only reads your data, and never writes back to the source without your explicit permission.
3
Select the data to bring in
Choose which tables or datasets you want Pluvo to sync from the source.
4
Let the first sync run
Pluvo pulls in the selected data. You can watch progress as each table syncs.
5
Name and finish
Pluvo suggests a name based on the entity the connection covers, so two connections of the same type are easy to tell apart. Keep it or rename it, then finish. It appears in your list of sources with its current status.
6
Set a sync schedule
New connections sync only when you ask. To keep the data current automatically, set a schedule, as described below.
Keeping data current
Open a connection and, on its Overview tab, find Sync schedule. Choose how often Pluvo should pull in new and changed records:- Manual only, the default, syncs only when you choose Sync now
- Hourly syncs at the top of every hour
- Daily syncs once a day at the time you choose
- Weekly syncs once a week on the day and time you choose