

- A Department dimension might include dimension values: Engineering, Sales, Product.
- A Region dimension might include dimension values: US, EMEA, AUS
Before you continue, make note of the difference between Dimensions and Dimensions Values, it will be important throughout the user manual and app.
- Categorize rows of data (e.g. expenses by department)
- Create reusable drivers (e.g. headcount by region)
- Build filtered rollups and dynamic metrics
Example Use Case:
Using Dimensions
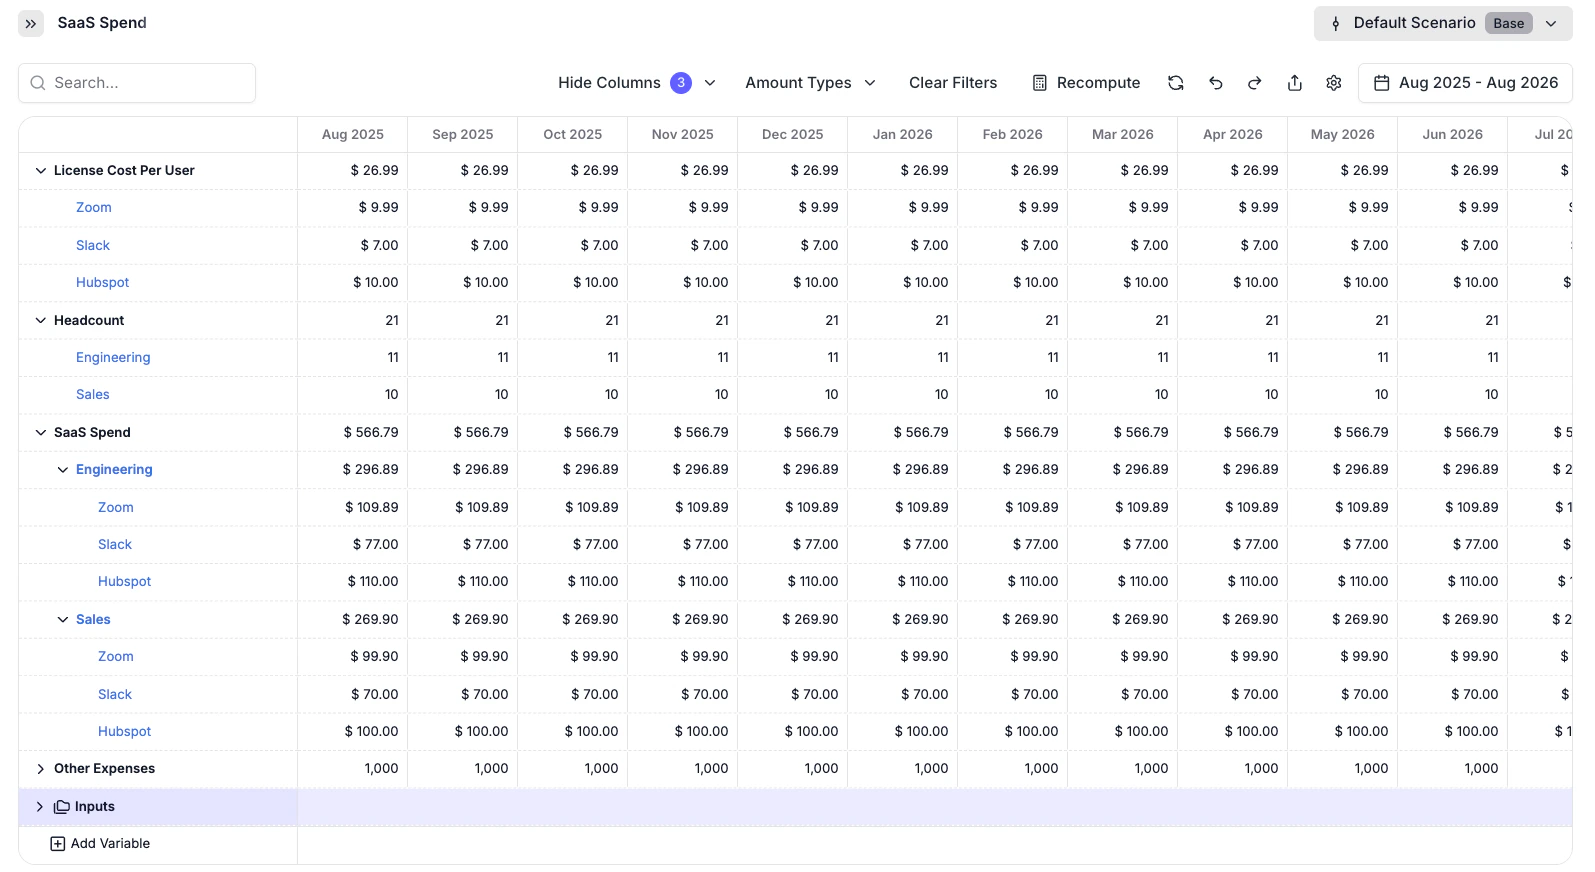
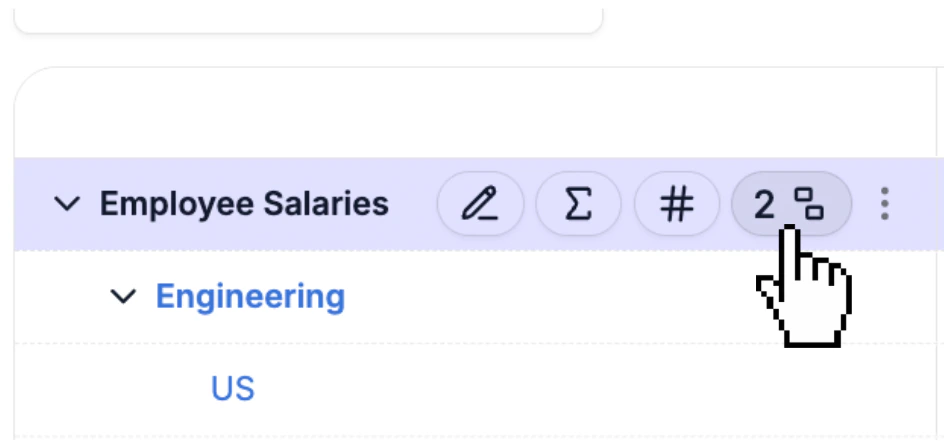
To access the dimensions menu, click the icon on any variable.
The number indicates how many dimensions are applied to that variable.
This number will be 0 on variables that do not have any dimensions applied.
icon on any variable.
The number indicates how many dimensions are applied to that variable.
This number will be 0 on variables that do not have any dimensions applied.

Creating Dimensions
🛠 Creating a Dimension
Before you can segment your data, you’ll need to create a new dimension—a category likeRegion, Product, or Department that helps you organize values within a variable.
To create a new dimension:
- Click the dimension icon on the variable you want to apply a dimension to.
- At the bottom of the dropdown, click ”+ Create dimension”.
- Type the name of your new dimension (e.g.
Region,Product,Department) and press Enter. - Your new dimension will now appear in the list of available dimensions.
- Click on the dimension you just created to apply it to the variable.
Creating Dimension Values
Once you’ve created a dimension, you’ll need to define its dimension values—these are the individual items that exist within that category. For example, if your dimension isRegion, the dimension values might be:
- US
- EMEA
- APAC
- LATAM
- Open the Dimensions dropdown.
- Click on the dimension you want to edit.
- Scroll to the bottom and click “Create value”.
- Type in the name of the new dimension value and press Enter.

Applying & Filtering Dimensions
Once you’ve created your dimensions and their associated values, you’re ready to start applying them to variables in your model. To apply a dimension to a variable:- Click the dimension icon on the row of the variable you want to modify.
- In the Dimensions dropdown, click the “+” icon in the top right to open the list of available dimensions.
- Use the search bar to find an existing dimension by name.
- Or, create a new dimension if needed.
- Each dimension in the list shows how many dimension values are available.
- Select a dimension to add it to the “Break down by” list for that variable.
- Click into the dimension you just added.
- Check the boxes next to the dimension values you want to display in the grid.
- Important: At least one dimension value must be selected for the dimension to be activated on that variable.
- Use “Select all” if you want to include every available value.
- Click Save to confirm your selections.
Dimension Hierarchies
When you add multiple dimensions to a variable, Pluvo creates a dimension hierarchy—a way to organize and break down the data across multiple layers. The hierarchy determines how the variable is grouped in the grid, and follows a top-down order based on how dimensions are arranged in the Dimensions menu. How it works- Variables break down top to bottom according to the order of dimensions.
- You can reorder the hierarchy by clicking and dragging the handles next to each dimension in the Dimensions dropdown.
- Think of it as:
Show me {variable} grouped by {dimension}, then split by {sub-dimension}, and so on.
Employee Salaries:
- Department
- Region
Region first and Department second—it will group salaries by region first, then department within each region:
Use dimension hierarchies to create clear and structured models that mirror how your business operates across teams, geographies, or entities.
Integration Dimensions
Some dimensions in Pluvo can be pulled directly from your connected systems—like your ERP or accounting software—so you can reference real-world data in your models. For example:GL Accountfrom QuickBooks or NetSuiteVendorfrom your accounts payable systemDepartmentfrom your chart of accounts
For instance, if you add a new department in NetSuite, that department will show up in Pluvo without any manual setup. You can reuse these dimensions across your entire Pluvo workspace—making it easier to categorize, filter, and report consistently. Read more about how to connect and use integrations.